
What patients see: the booking page
Your booking page is practice-branded — your name, logo, colors, phone, and business hours — so patients know they’re in the right place. This is the exact path a patient walks. Knowing it helps you answer “where do I click?” calls and reassure patients about the text-message step.
Watch the start of the booking flow (Welcome → New Patient):
The public booking page lives at /online-scheduling/book-appointment.html?siteID=... — the address your booking link resolves to.
The booking flow
Section titled “The booking flow”0. Choose a location (multi-location only)
Section titled “0. Choose a location (multi-location only)”If you use the Single Link — Patients Choose Location mode, the patient picks a location first. Single-default and separate-link practices skip this.
1. New patient or returning?
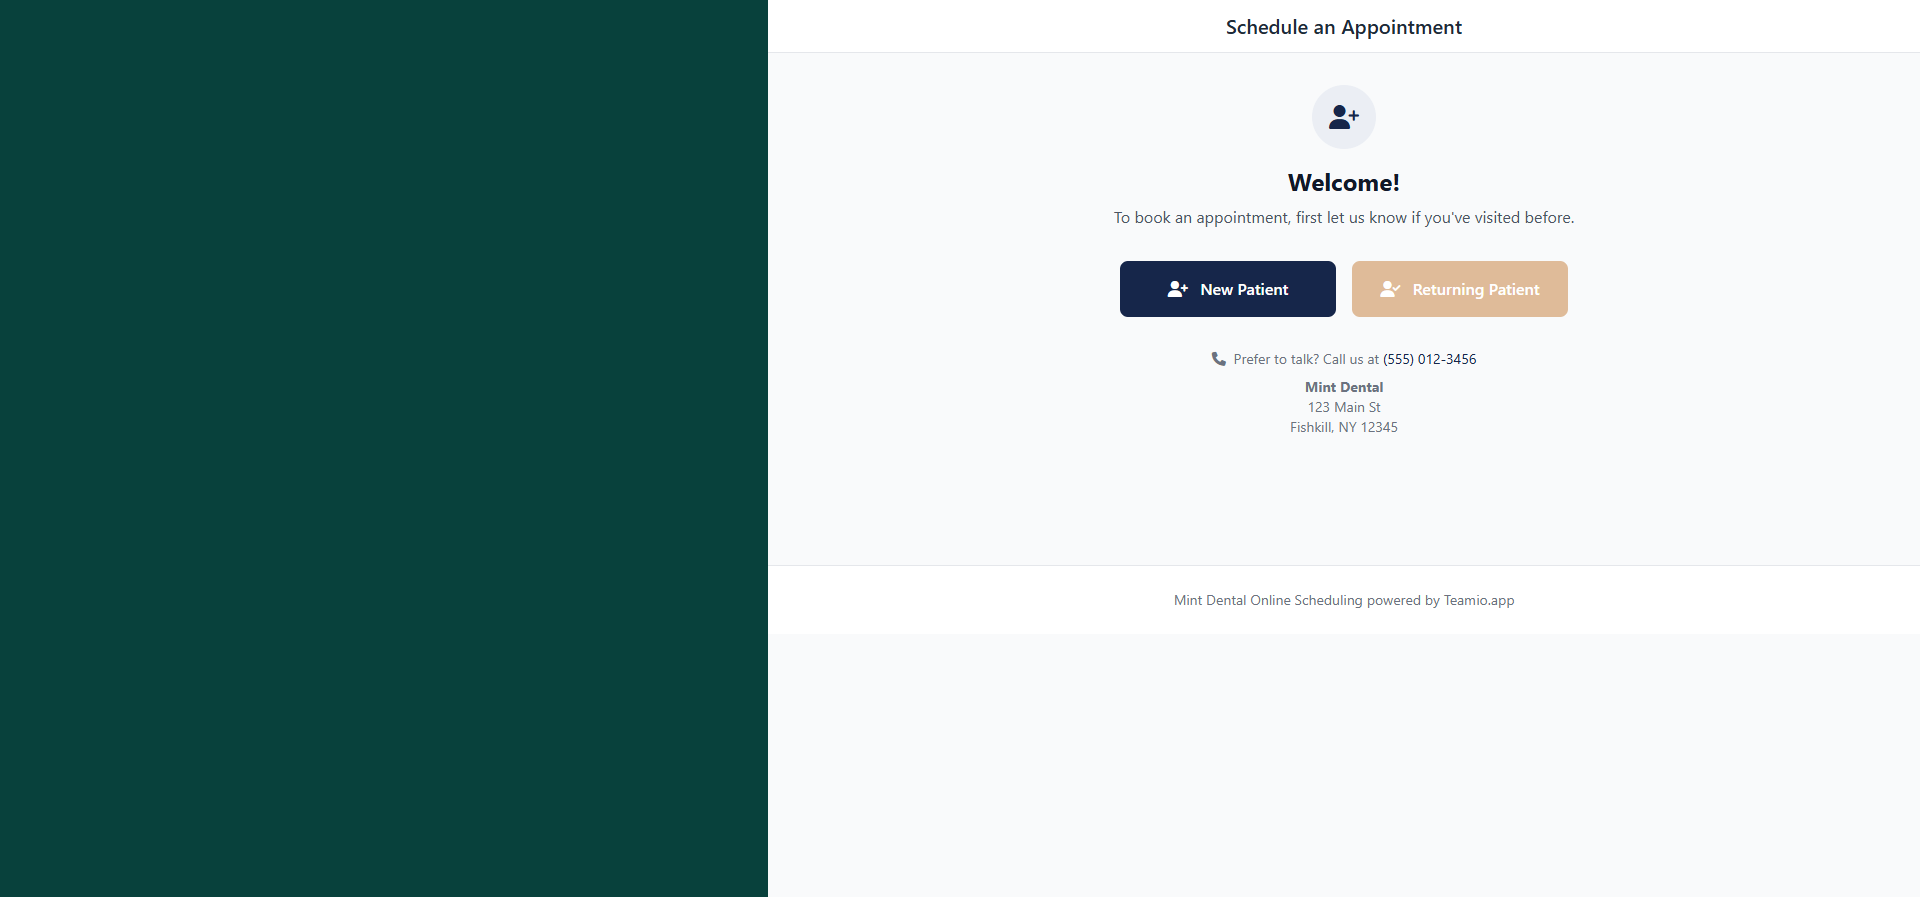
Section titled “1. New patient or returning?”The page opens on a Welcome! screen: To book an appointment, first let us know if you’ve visited before. The patient chooses New Patient or Returning Patient.
A Returning Patient is matched against Open Dental and sees either Existing Patient Record Found (their record is recognized) or Patient Record Not Found before continuing.
2. Select an appointment type
Section titled “2. Select an appointment type”The patient picks from the bookable appointment types you configured — each shows its name, description, and duration. Only types available to their patient group (new vs. existing) appear.
2.5. Select a provider (when offered)
Section titled “2.5. Select a provider (when offered)”If the chosen type allows a provider choice, a Select Your Provider screen appears, including a First Available card for patients who don’t mind who they see. Types mapped to a single provider skip this step.
3. Select a date and time
Section titled “3. Select a date and time”A month calendar highlights bookable dates (limited by your scheduling window). The patient picks a day and the Available Times column fills with open slots, with an earliest-times hint to nudge them toward sooner openings.
4. Patient information
Section titled “4. Patient information”A Your Selected Appointment summary banner carries the chosen type, provider, and time through this step. The patient fills in Your Details:
- First Name, Last Name
- Gender (Male / Female / Unknown)
- Date of Birth
- Cell Phone — with the note We will text you a code to confirm this appointment before it’s scheduled.
There’s also a Chief Concerns free-text box (Please indicate any chief concerns you may have). There is no email field anywhere on the booking page — the cell phone is how you reach them.
If you set up Insurances Accepted, an Insurance Information step asks whether they have insurance (Yes / No / I don’t have insurance) and, if yes, their Subscriber ID, Group number, and Subscriber name — with in-network/out-of-network info shown per your Patient Display Options.
5. Verify the phone number (required)
Section titled “5. Verify the phone number (required)”When the patient selects Schedule Appointment, a Verify Your Phone modal opens. Teamio texts a 6-digit code to the cell number; the patient enters it (or selects Resend Code) and chooses Verify & Book. The appointment is only created after this verification succeeds — this is what keeps junk and typo bookings off your schedule.
6. Confirmed
Section titled “6. Confirmed”A final Appointment Confirmed! screen shows the appointment summary and the line If you need to make changes, please contact our office directly. The patient also receives your confirmation SMS, and a per-type redirect URL (if set) can send them to your own thank-you page — which is also how you track online-booking conversions with a marketing pixel.
When online scheduling is off
Section titled “When online scheduling is off”If Online Scheduling Status is set to OFF, the same link shows an Online Scheduling Unavailable page telling patients to call the office instead — so a published link never dead-ends.
What happens on your side
Section titled “What happens on your side”The verified appointment lands on the Open Dental schedule with your configured confirmation status, appears on the dashboard with its source, and triggers your notification email. New-patient bookings are a perfect trigger for the new-patient welcome workflow.