
Where the PDF goes — Form Configurations and imaging categories
Every submitted form is rendered to a PDF and filed into the patient’s Open Dental imaging module. Where it lands and what it’s named come entirely from the form’s PDF settings in the builder — get these right once and your imaging stays tidy.
Open the settings
Section titled “Open the settings”- Open the form for editing (or while creating it).
- Select Form Configurations at the top of the builder canvas.
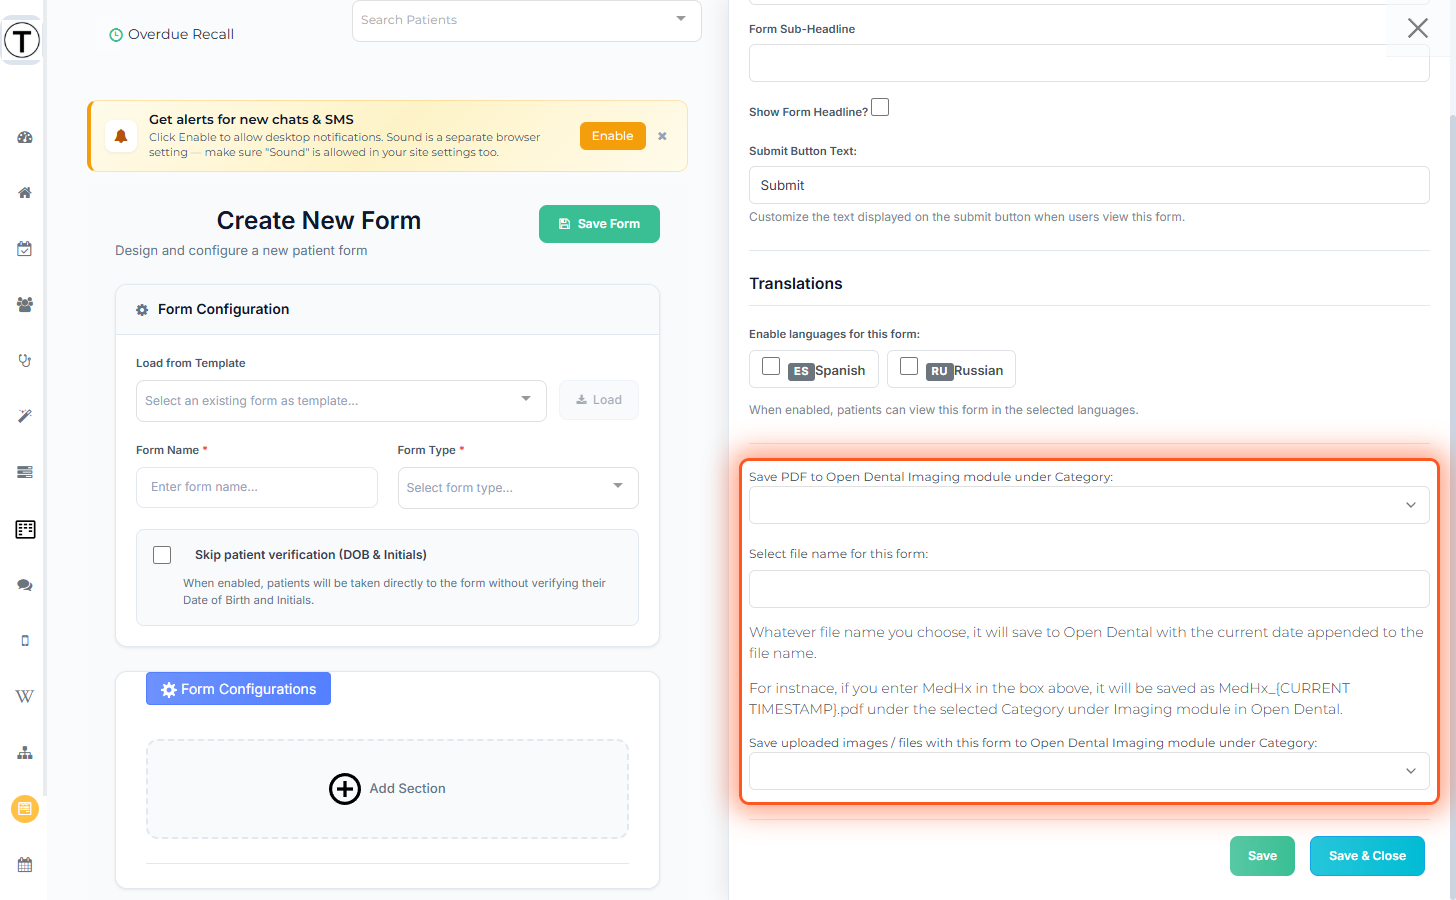
- Scroll the right-hand sidebar down past the headline and Translations settings — the three PDF settings are grouped together lower in the panel.
Here’s where they sit in the panel, so you know how far to scroll:
The three settings that matter
Section titled “The three settings that matter”| Setting | What it does |
|---|---|
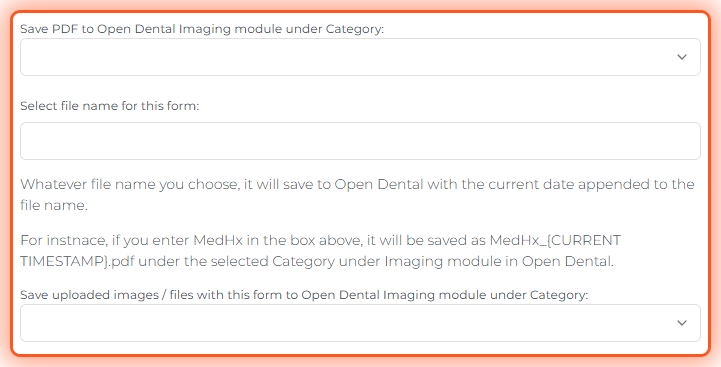
| Save PDF to Open Dental Imaging module under Category | The imaging category the completed-form PDF files into. |
| Select file name for this form | The PDF’s base name. The file saves as <name>_<timestamp>.pdf — e.g. enter MedHx and it files as MedHx_<timestamp>.pdf. |
| Save uploaded images / files with this form to Open Dental Imaging module under Category | A separate category for patient uploads (insurance cards, IDs), filed apart from the form PDF. |
Why you must set these
Section titled “Why you must set these”Quick checklist
Section titled “Quick checklist”- Every form has a Category and a file name set.
- The file name is short and recognizable (
MedHx,Consent,NPIntake) — the timestamp is appended automatically. - Forms that collect uploads also have the uploaded images / files category set.