
Automated email reports
Instead of someone pulling numbers every Monday, Teamio emails the report for you — your Open Dental KPIs and Teamio activity, on the schedule you choose, to the people you pick.
Open the settings
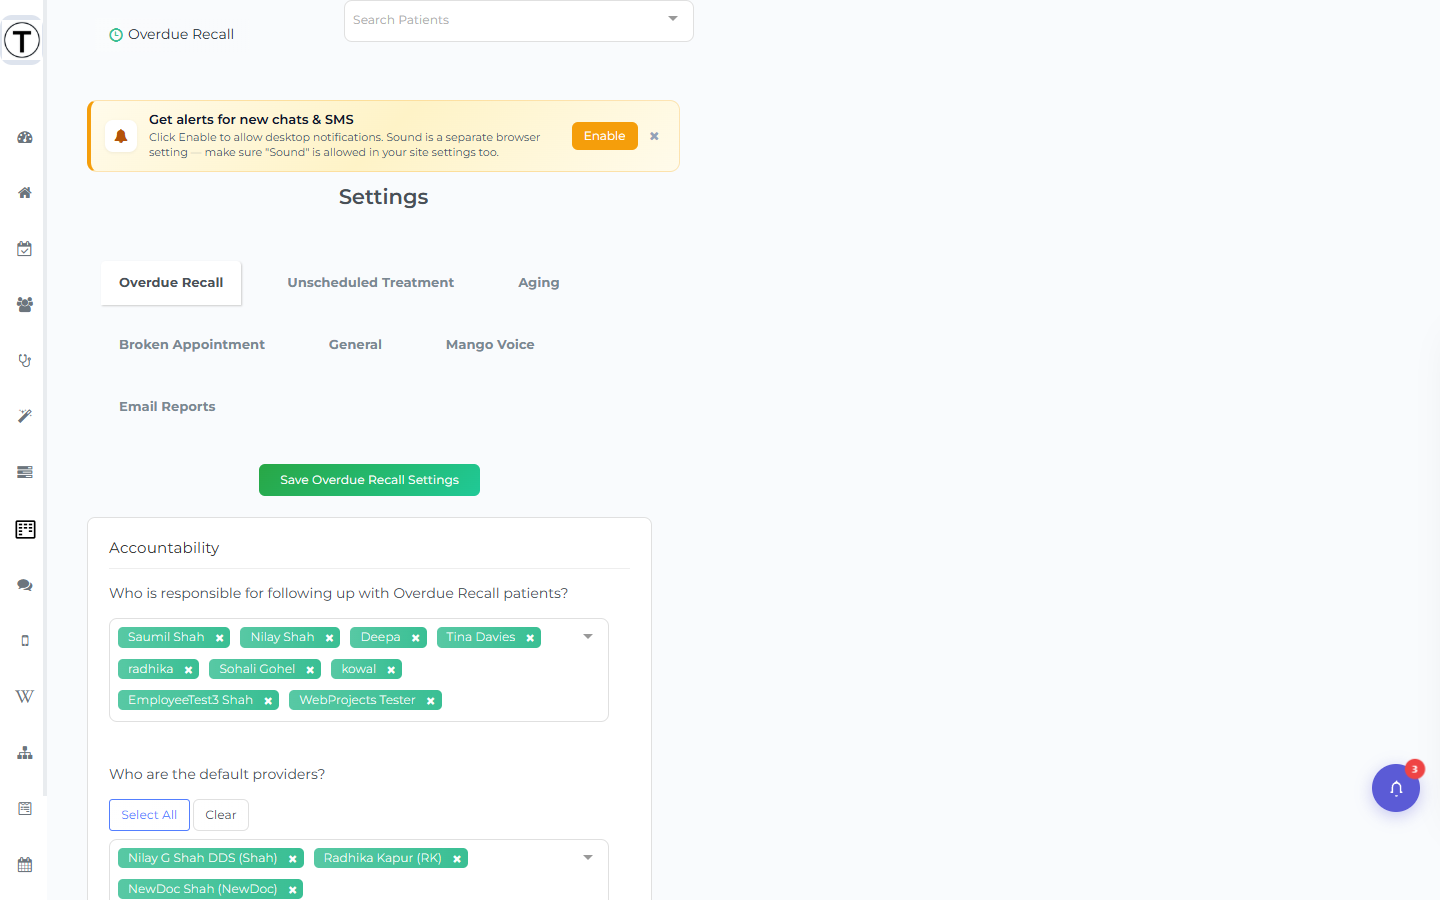
Section titled “Open the settings”Select the Settings icon (the gear-shaped ⚙️ icon) in the top-right of Teamio, choose Settings, then open the Email Reports tab. The panel header reads Automated Email Reports.
Nothing you change here is saved until you select Save Email Report Settings (the button sits at the top-right of the panel and again at the bottom). On success you’ll see a Settings saved successfully! toast.
Set the delivery schedule
Section titled “Set the delivery schedule”There are three delivery cards — Daily Report, Weekly Report, and Monthly Report — each turned on or off independently with its own Enabled / Disabled toggle. When a card is Disabled it greys out and reads Report disabled, and its category checkboxes and recipient picker are turned off until you re-enable it.
For each cadence you enable:
- Deliver after — choose an hour from the dropdown. The choices are 4 PM through 10 PM only. Helper text under it reads Sent shortly after this hour once all data is finalized.
- TZ — choose the timezone the hour is measured in. Nine zones are offered: Eastern (ET), Central (CT), Mountain (MT), Pacific (PT), Alaska (AKT), Hawaii (HT), Atlantic (AST), Ireland (IST), and South Africa (SAST).
The Weekly report is delivered on the last working day of the week, and the Monthly report on the last working day of the month, each shortly after the hour you set.
Choose what’s in the report
Section titled “Choose what’s in the report”The Include in Report matrix turns each category on or off for Daily, Weekly, and Monthly independently. Each row shows the category name with its sub-metrics listed underneath. A category that isn’t available for a given cadence shows an em dash (—) in that column instead of a checkbox — the two Team Insights rows are Weekly and Monthly only.
| Category | What it contains | Available |
|---|---|---|
| Financials and Patients | Net Production, Collections, and New Patients month-to-date (with goal tracking); Outstanding Claims aging; today’s Net Production, Adjustments, and Write-offs; the core metrics (Production, Schedule, Collection, Patients, Hygiene, Treatment Acceptance); a Collections Summary (checks, cash, credit cards, financing); Production by Provider; and an Adjustments Summary. | Daily · Weekly · Monthly |
| Tx Presented vs Accepted — Last 3 Months | Per-provider breakdown with Tx Planned, Scheduled, Completed, and Acceptance %; a monthly comparison bar chart; and an All Procedures summary table with per-procedure-code and per-procedure-type breakdowns. | Daily · Weekly · Monthly |
| Team Insights — Patient Follow-ups | Overdue Recall and Unscheduled Treatment follow-up activity: total follow-ups, appointments scheduled, net $ value, and conversion rates, broken down by team member with call-vs-scheduled charts. | Weekly · Monthly |
| Team Insights — Outstanding Claims | Outstanding-claims follow-up activity: total follow-ups, claims received, claim $ value, and conversion rates, broken down by team member with call-vs-received charts. | Weekly · Monthly |
| Next 2 Weeks — Net Scheduled Production | Day-by-day scheduled production for the next two working weeks, per provider, with mini progress bars and color-coded goal tracking (green/yellow/red). | Daily · Weekly · Monthly |
Procedure filters for Tx Presented
Section titled “Procedure filters for Tx Presented”When you check Tx Presented vs Accepted — Last 3 Months for at least one cadence, a Tx Presented — Procedure Filters block appears with two multiselects:
- Type: — limit the Tx Presented figures to chosen procedure types.
- Code: — limit them to specific procedure codes.
These filters apply only to the Tx Presented vs Accepted sections, not to the rest of the report. The UI states: These selections apply to all report types that include Tx Presented vs Accepted. Leave both empty to include every procedure.
Pick the recipients
Section titled “Pick the recipients”A recipient picker appears for each enabled cadence (for example, a Select weekly recipients… multiselect). Open it and choose the employees who should receive that email — so the doctor gets the monthly financials and the office manager gets the weekly follow-up activity, for instance. Each option is labeled Name (login email).
By default each report goes to the employee’s Teamio login email. To send it somewhere else, use the Alternate Email (optional) rows that appear once you select an employee: one row per selected employee lets you override the delivery address. The helper text reads Leave blank to use the employee’s Teamio login email.
Confirm what was sent
Section titled “Confirm what was sent”Once at least one report has gone out, a Recent Reports Sent history table appears at the bottom with columns Report Type, Sent To, a Status badge (sent / failed / queued), and Date. Use it to confirm a report actually landed. (The table doesn’t appear until the first report has been sent.)
- Start with weekly. A single well-aimed weekly email beats a daily one nobody opens.
- Match the report to the reader — owners want financials and case acceptance; team leads want follow-up and claims activity.
- These figures mirror what you see live on the Huddle, in Team Insights, and on the Today’s Dashboard.
Troubleshooting
Section titled “Troubleshooting”The report’s numbers look incomplete
Section titled “The report’s numbers look incomplete”The report was delivered before the day finished. Move Deliver after to a later hour (the menu runs to 10 PM) so production and collections are final before the email goes out.
A report never arrived
Section titled “A report never arrived”Open Recent Reports Sent and check the Status badge. A failed badge means delivery didn’t succeed — confirm the recipient’s login email, or set an Alternate Email, then save and wait for the next scheduled run. If the cadence card shows Report disabled, that report isn’t scheduled at all; toggle it to Enabled and save.
I don’t see the Email Reports tab
Section titled “I don’t see the Email Reports tab”The tab is Admin only. Managers, Employees, and Outsourced users can’t configure email reports.