
What patients see
Knowing the patient’s side makes it easy to talk them through it on the phone.
The patient experience
Section titled “The patient experience”-
Tap the link (from your text or QR code). It opens in their phone browser — nothing to install.
-
Verify identity. Unless the form has Skip patient verification on, the patient lands on a verification card. The title is the form name, with the subtitle Please verify your identity to access your form. They enter:
- Date of Birth — the field placeholder shows your office’s configured format (e.g. MM/DD/YYYY); an invalid format shows Please enter your DOB in the format ….
- Your Initials — hint: Example: For John Smith, enter JS.
They select Verify Identity. The practice logo and office info appear on this page.
-
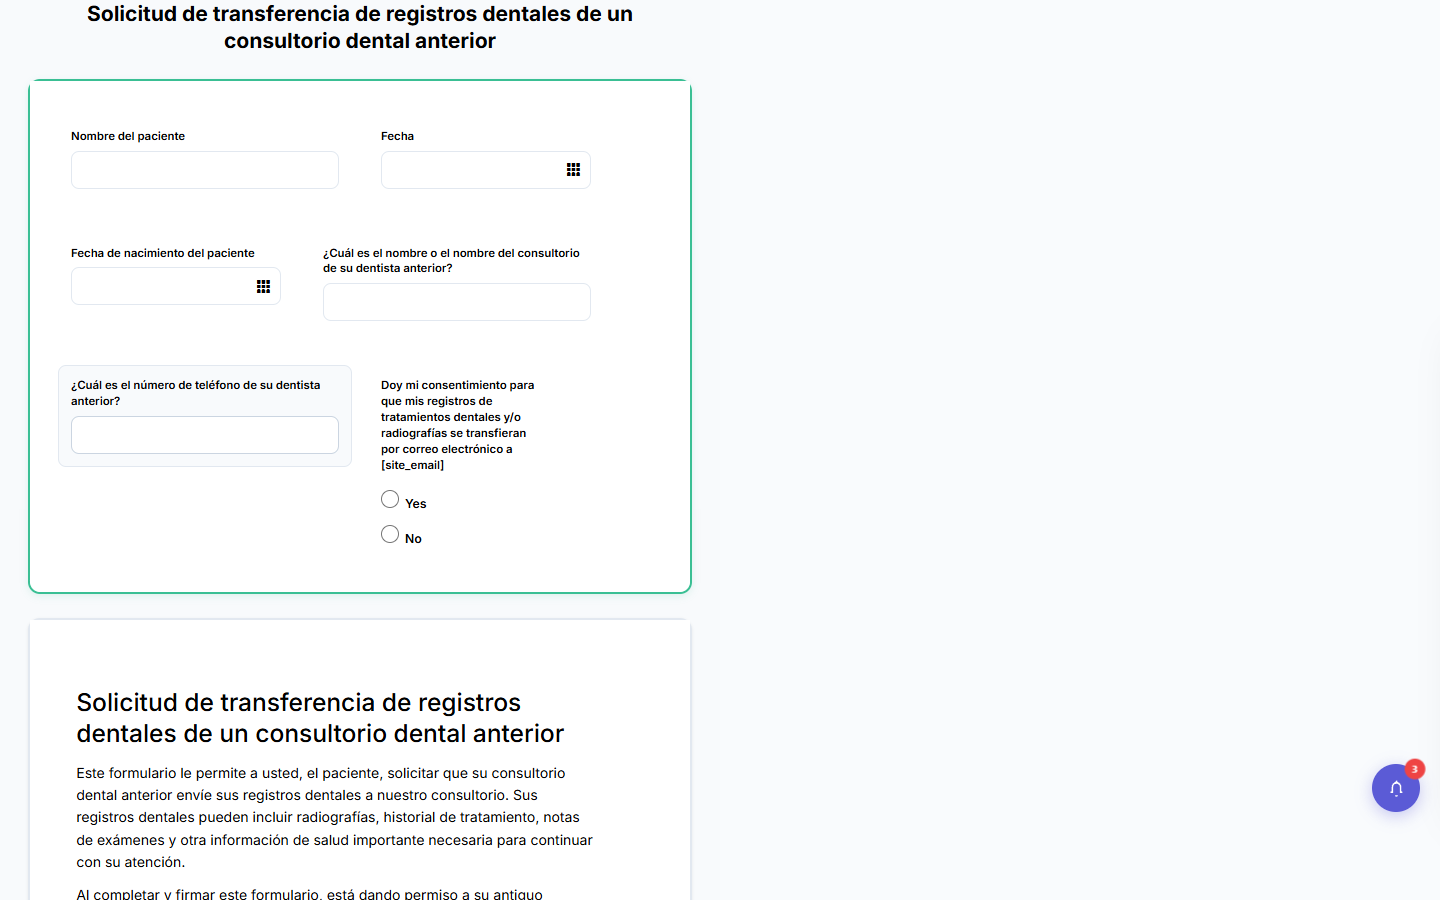
Fill out the form. Some fields pre-fill automatically, but only the ones the builder configured to do so — a control with a Save to Open Dental Field mapping (including an Open Dental Data Field set to Referrals, which shows a returning patient’s existing referral source), Pre-fill Patient Name or Pre-fill with Teeth #‘s on an OTHER form, or Prefill with today’s date on a Date Picker. Everything else starts blank.
-
Switch language if offered. When a form has extra languages, a Change language: label with a flag and language dropdown sits in the form header. The patient can switch at any time. See Multi-language forms.
-
Sign if asked. Signature fields are drawn with a finger.
-
Submit. The button text is whatever your office set in Submit Button Text (it can differ per language). While the form uploads, the patient sees a Submitting Your Form — Please wait while we process your submission… overlay.
The Thank You page
Section titled “The Thank You page”After a successful submit, the patient sees a green check, Thank You!, Your form has been successfully submitted., You may now close this window., and your practice’s contact details. Forms that capture SMS consent also show an SMS Text Message Enrollment Confirmed block.
The completed form lands in your Your Form Submissions panel right away.
Packets
Section titled “Packets”For a packet, the patient verifies their identity once. A strip under the logo shows the packet name and section count (“New Patient Packet · Section 2 of 3”), and every section but the last ends with Save & Continue rather than the form’s own submit text — the last section keeps its own text (usually Submit), and that’s when the Thank You page appears. If the patient closes the link and comes back later, they pick up on the next unfinished section instead of starting over. See What patients see in a packet for the full walkthrough.
Tips and common questions
Section titled “Tips and common questions”- “The patient can’t get past verification.” The date of birth must match what’s in Open Dental, and it must be entered in the office’s date format — see Troubleshooting form links.
- “They got an error and couldn’t submit.” A required or invalid field blocks submit: the field shows its error message and an alert names what’s missing — Please complete the required field: … — then the page scrolls to it. Required fields carry a red asterisk next to their label, so patients can spot what’s missing before they even hit Submit. If the blocked field is a file upload, its upload area also outlines in red. Have them scroll up to the highlighted field, fix it, and resubmit.
- Photos: file-upload fields let patients attach pictures (insurance card, ID) from their phone camera.
- Expired or deleted links can’t be reopened — if your office deleted the form after sending the link, generate and send a fresh one.